
(Created page with "<div style="text-align:right;">Back</div> ==Zuma Temple 1== ===Map Info=== https://mirfiles.co.uk/resources/mir2/users/Jev/Woool/Wiki/Maps/00181.png <div style="w...") |
|||
| Line 782: | Line 782: | ||
<td>false</td> | <td>false</td> | ||
<td>true</td> | <td>true</td> | ||
| + | <td>true</td> | ||
| + | <td>false</td> | ||
| + | <td>0</td> | ||
| + | <td>0</td> | ||
| + | <td>S018</td> | ||
| + | <td>None</td> | ||
| + | <td>0</td> | ||
| + | <td>0</td> | ||
| + | <td>0</td> | ||
| + | <td>0</td> | ||
| + | <td>0</td> | ||
| + | <td>0</td> | ||
| + | <td>0</td> | ||
| + | <td>0</td> | ||
| + | <td>0</td> | ||
| + | <td>0</td> | ||
| + | <td>None</td> | ||
| + | </tr> | ||
| + | </table> | ||
| + | </div> | ||
| + | |||
| + | ==Zuma Temple 6== | ||
| + | |||
| + | ===Map Info=== | ||
| + | |||
| + | https://mirfiles.co.uk/resources/mir2/users/Jev/Woool/Wiki/Maps/00194.png | ||
| + | |||
| + | <div style="width: 900px; overflow-x: auto; max-height: 800px; overflow-y: auto;"> | ||
| + | <table border="1" cellspacing="0" cellpadding="5"> | ||
| + | <tr> | ||
| + | <th>FileName</th> | ||
| + | <th>Description</th> | ||
| + | <th>MiniMap</th> | ||
| + | <th>Light</th> | ||
| + | <th>Weather</th> | ||
| + | <th>Fight</th> | ||
| + | <th>AllowRT</th> | ||
| + | <th>SkillDelay</th> | ||
| + | <th>CanHorse</th> | ||
| + | <th>AllowTT</th> | ||
| + | <th>CanMine</th> | ||
| + | <th>CanMarriageRecall</th> | ||
| + | <th>AllowRecall</th> | ||
| + | <th>ShowOnBigMap</th> | ||
| + | <th>MinimumLevel</th> | ||
| + | <th>MaximumLevel</th> | ||
| + | <th>ReconnectMap</th> | ||
| + | <th>Music</th> | ||
| + | <th>MonsterHealth</th> | ||
| + | <th>MonsterDamage</th> | ||
| + | <th>DropRate</th> | ||
| + | <th>ExperienceRate</th> | ||
| + | <th>GoldRate</th> | ||
| + | <th>MaxMonsterHealth</th> | ||
| + | <th>MaxMonsterDamage</th> | ||
| + | <th>MaxDropRate</th> | ||
| + | <th>MaxExperienceRate</th> | ||
| + | <th>MaxGoldRate</th> | ||
| + | <th>RequiredClass</th> | ||
| + | </tr> | ||
| + | <tr> | ||
| + | <td>S024</td> | ||
| + | <td>Zuma Temple 6</td> | ||
| + | <td>194</td> | ||
| + | <td>Default</td> | ||
| + | <td>None</td> | ||
| + | <td>None</td> | ||
| + | <td>false</td> | ||
| + | <td>0</td> | ||
| + | <td>false</td> | ||
| + | <td>true</td> | ||
| + | <td>false</td> | ||
| + | <td>true</td> | ||
| + | <td>true</td> | ||
| + | <td>false</td> | ||
| + | <td>0</td> | ||
| + | <td>0</td> | ||
| + | <td>S018</td> | ||
| + | <td>None</td> | ||
| + | <td>0</td> | ||
| + | <td>0</td> | ||
| + | <td>0</td> | ||
| + | <td>0</td> | ||
| + | <td>0</td> | ||
| + | <td>0</td> | ||
| + | <td>0</td> | ||
| + | <td>0</td> | ||
| + | <td>0</td> | ||
| + | <td>0</td> | ||
| + | <td>None</td> | ||
| + | </tr> | ||
| + | </table> | ||
| + | </div> | ||
| + | |||
| + | ==Zuma Temple 7== | ||
| + | |||
| + | ===Map Info=== | ||
| + | |||
| + | https://mirfiles.co.uk/resources/mir2/users/Jev/Woool/Wiki/Maps/00195.png | ||
| + | |||
| + | <div style="width: 900px; overflow-x: auto; max-height: 800px; overflow-y: auto;"> | ||
| + | <table border="1" cellspacing="0" cellpadding="5"> | ||
| + | <tr> | ||
| + | <th>FileName</th> | ||
| + | <th>Description</th> | ||
| + | <th>MiniMap</th> | ||
| + | <th>Light</th> | ||
| + | <th>Weather</th> | ||
| + | <th>Fight</th> | ||
| + | <th>AllowRT</th> | ||
| + | <th>SkillDelay</th> | ||
| + | <th>CanHorse</th> | ||
| + | <th>AllowTT</th> | ||
| + | <th>CanMine</th> | ||
| + | <th>CanMarriageRecall</th> | ||
| + | <th>AllowRecall</th> | ||
| + | <th>ShowOnBigMap</th> | ||
| + | <th>MinimumLevel</th> | ||
| + | <th>MaximumLevel</th> | ||
| + | <th>ReconnectMap</th> | ||
| + | <th>Music</th> | ||
| + | <th>MonsterHealth</th> | ||
| + | <th>MonsterDamage</th> | ||
| + | <th>DropRate</th> | ||
| + | <th>ExperienceRate</th> | ||
| + | <th>GoldRate</th> | ||
| + | <th>MaxMonsterHealth</th> | ||
| + | <th>MaxMonsterDamage</th> | ||
| + | <th>MaxDropRate</th> | ||
| + | <th>MaxExperienceRate</th> | ||
| + | <th>MaxGoldRate</th> | ||
| + | <th>RequiredClass</th> | ||
| + | </tr> | ||
| + | <tr> | ||
| + | <td>S025</td> | ||
| + | <td>Zuma Temple 7</td> | ||
| + | <td>195</td> | ||
| + | <td>Default</td> | ||
| + | <td>None</td> | ||
| + | <td>None</td> | ||
| + | <td>false</td> | ||
| + | <td>0</td> | ||
| + | <td>false</td> | ||
| + | <td>true</td> | ||
| + | <td>false</td> | ||
| + | <td>true</td> | ||
| + | <td>true</td> | ||
| + | <td>false</td> | ||
| + | <td>0</td> | ||
| + | <td>0</td> | ||
| + | <td>S018</td> | ||
| + | <td>None</td> | ||
| + | <td>0</td> | ||
| + | <td>0</td> | ||
| + | <td>0</td> | ||
| + | <td>0</td> | ||
| + | <td>0</td> | ||
| + | <td>0</td> | ||
| + | <td>0</td> | ||
| + | <td>0</td> | ||
| + | <td>0</td> | ||
| + | <td>0</td> | ||
| + | <td>None</td> | ||
| + | </tr> | ||
| + | </table> | ||
| + | </div> | ||
| + | |||
| + | ==Zuma Temple KR== | ||
| + | |||
| + | ===Map Info=== | ||
| + | |||
| + | https://mirfiles.co.uk/resources/mir2/users/Jev/Woool/Wiki/Maps/00196.png | ||
| + | |||
| + | <div style="width: 900px; overflow-x: auto; max-height: 800px; overflow-y: auto;"> | ||
| + | <table border="1" cellspacing="0" cellpadding="5"> | ||
| + | <tr> | ||
| + | <th>FileName</th> | ||
| + | <th>Description</th> | ||
| + | <th>MiniMap</th> | ||
| + | <th>Light</th> | ||
| + | <th>Weather</th> | ||
| + | <th>Fight</th> | ||
| + | <th>AllowRT</th> | ||
| + | <th>SkillDelay</th> | ||
| + | <th>CanHorse</th> | ||
| + | <th>AllowTT</th> | ||
| + | <th>CanMine</th> | ||
| + | <th>CanMarriageRecall</th> | ||
| + | <th>AllowRecall</th> | ||
| + | <th>ShowOnBigMap</th> | ||
| + | <th>MinimumLevel</th> | ||
| + | <th>MaximumLevel</th> | ||
| + | <th>ReconnectMap</th> | ||
| + | <th>Music</th> | ||
| + | <th>MonsterHealth</th> | ||
| + | <th>MonsterDamage</th> | ||
| + | <th>DropRate</th> | ||
| + | <th>ExperienceRate</th> | ||
| + | <th>GoldRate</th> | ||
| + | <th>MaxMonsterHealth</th> | ||
| + | <th>MaxMonsterDamage</th> | ||
| + | <th>MaxDropRate</th> | ||
| + | <th>MaxExperienceRate</th> | ||
| + | <th>MaxGoldRate</th> | ||
| + | <th>RequiredClass</th> | ||
| + | </tr> | ||
| + | <tr> | ||
| + | <td>S026</td> | ||
| + | <td>Zuma Temple King Room</td> | ||
| + | <td>196</td> | ||
| + | <td>Default</td> | ||
| + | <td>None</td> | ||
| + | <td>None</td> | ||
| + | <td>false</td> | ||
| + | <td>0</td> | ||
| + | <td>false</td> | ||
| + | <td>true</td> | ||
| + | <td>false</td> | ||
| + | <td>false</td> | ||
<td>true</td> | <td>true</td> | ||
<td>false</td> | <td>false</td> | ||
Latest revision as of 19:27, 18 January 2025
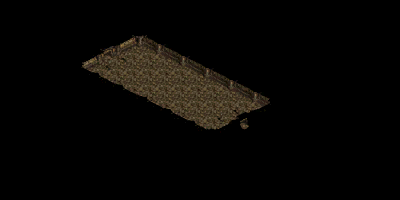
Zuma Temple 1
Map Info
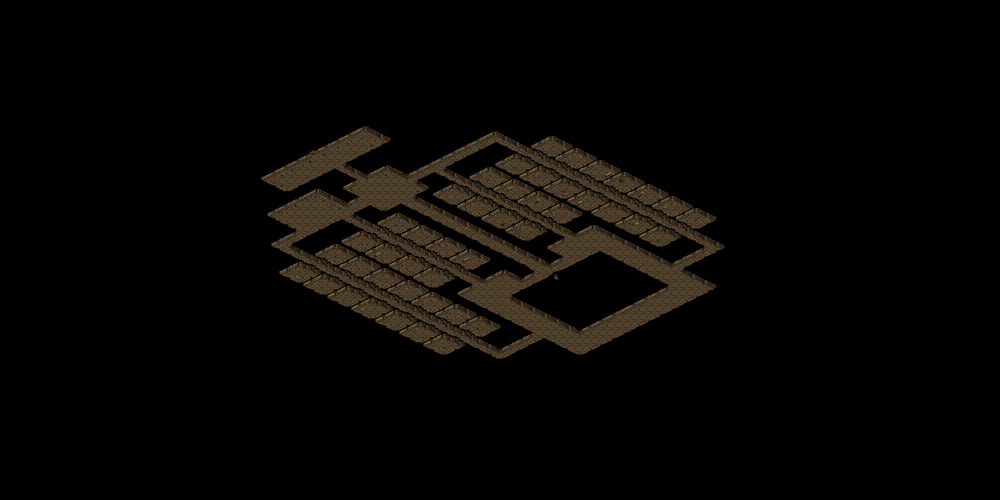
| FileName | Description | MiniMap | Light | Weather | Fight | AllowRT | SkillDelay | CanHorse | AllowTT | CanMine | CanMarriageRecall | AllowRecall | ShowOnBigMap | MinimumLevel | MaximumLevel | ReconnectMap | Music | MonsterHealth | MonsterDamage | DropRate | ExperienceRate | GoldRate | MaxMonsterHealth | MaxMonsterDamage | MaxDropRate | MaxExperienceRate | MaxGoldRate | RequiredClass |
|---|---|---|---|---|---|---|---|---|---|---|---|---|---|---|---|---|---|---|---|---|---|---|---|---|---|---|---|---|
| S011 | Zuma Temple 1 | 181 | Default | None | None | true | 0 | false | true | false | true | true | false | 0 | 0 | None | 0 | 0 | 0 | 0 | 0 | 0 | 0 | 0 | 0 | 0 | None |
Fighting Hall 1
Map Info
| FileName | Description | MiniMap | Light | Weather | Fight | AllowRT | SkillDelay | CanHorse | AllowTT | CanMine | CanMarriageRecall | AllowRecall | ShowOnBigMap | MinimumLevel | MaximumLevel | ReconnectMap | Music | MonsterHealth | MonsterDamage | DropRate | ExperienceRate | GoldRate | MaxMonsterHealth | MaxMonsterDamage | MaxDropRate | MaxExperienceRate | MaxGoldRate | RequiredClass |
|---|---|---|---|---|---|---|---|---|---|---|---|---|---|---|---|---|---|---|---|---|---|---|---|---|---|---|---|---|
| S012 | Fighting Hall 1 | 182 | Default | None | None | true | 0 | false | true | false | true | true | false | 0 | 0 | None | 0 | 0 | 0 | 0 | 0 | 0 | 0 | 0 | 0 | 0 | None |
Zuma Temple 2
Map Info
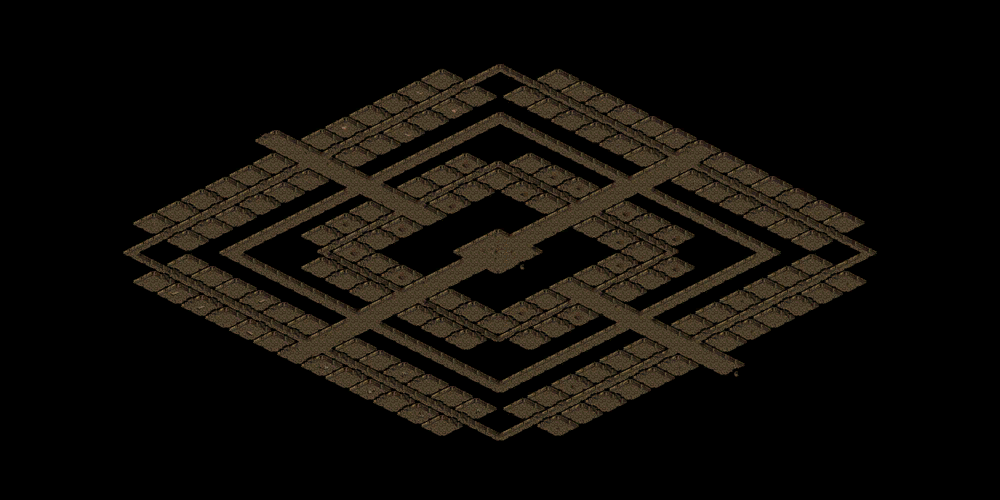
| FileName | Description | MiniMap | Light | Weather | Fight | AllowRT | SkillDelay | CanHorse | AllowTT | CanMine | CanMarriageRecall | AllowRecall | ShowOnBigMap | MinimumLevel | MaximumLevel | ReconnectMap | Music | MonsterHealth | MonsterDamage | DropRate | ExperienceRate | GoldRate | MaxMonsterHealth | MaxMonsterDamage | MaxDropRate | MaxExperienceRate | MaxGoldRate | RequiredClass |
|---|---|---|---|---|---|---|---|---|---|---|---|---|---|---|---|---|---|---|---|---|---|---|---|---|---|---|---|---|
| S013 | Zuma Temple 2 | 183 | Default | None | None | true | 0 | false | true | false | true | true | false | 0 | 0 | None | 0 | 0 | 0 | 0 | 0 | 0 | 0 | 0 | 0 | 0 | None |
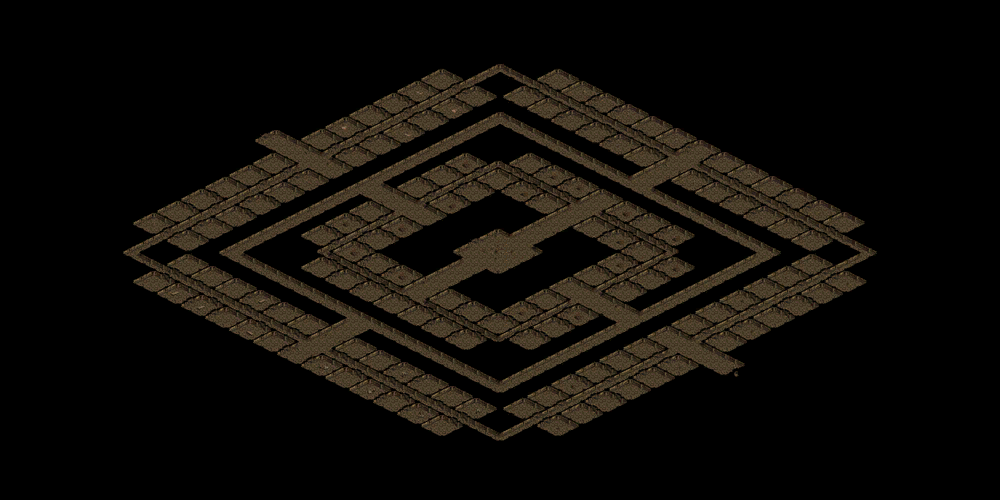
Fighting Hall 2
Map Info

| FileName | Description | MiniMap | Light | Weather | Fight | AllowRT | SkillDelay | CanHorse | AllowTT | CanMine | CanMarriageRecall | AllowRecall | ShowOnBigMap | MinimumLevel | MaximumLevel | ReconnectMap | Music | MonsterHealth | MonsterDamage | DropRate | ExperienceRate | GoldRate | MaxMonsterHealth | MaxMonsterDamage | MaxDropRate | MaxExperienceRate | MaxGoldRate | RequiredClass |
|---|---|---|---|---|---|---|---|---|---|---|---|---|---|---|---|---|---|---|---|---|---|---|---|---|---|---|---|---|
| S014 | Fighting Hall 2 | 184 | Default | None | None | true | 0 | false | true | false | true | true | false | 0 | 0 | None | 0 | 0 | 0 | 0 | 0 | 0 | 0 | 0 | 0 | 0 | None |
Zuma Temple 3
Map Info
| FileName | Description | MiniMap | Light | Weather | Fight | AllowRT | SkillDelay | CanHorse | AllowTT | CanMine | CanMarriageRecall | AllowRecall | ShowOnBigMap | MinimumLevel | MaximumLevel | ReconnectMap | Music | MonsterHealth | MonsterDamage | DropRate | ExperienceRate | GoldRate | MaxMonsterHealth | MaxMonsterDamage | MaxDropRate | MaxExperienceRate | MaxGoldRate | RequiredClass |
|---|---|---|---|---|---|---|---|---|---|---|---|---|---|---|---|---|---|---|---|---|---|---|---|---|---|---|---|---|
| S016 | Zuma Temple 3 | 186 | Default | None | None | true | 0 | false | true | false | true | true | false | 0 | 0 | None | 0 | 0 | 0 | 0 | 0 | 0 | 0 | 0 | 0 | 0 | None |
Zuma Temple 4
Map Info

| FileName | Description | MiniMap | Light | Weather | Fight | AllowRT | SkillDelay | CanHorse | AllowTT | CanMine | CanMarriageRecall | AllowRecall | ShowOnBigMap | MinimumLevel | MaximumLevel | ReconnectMap | Music | MonsterHealth | MonsterDamage | DropRate | ExperienceRate | GoldRate | MaxMonsterHealth | MaxMonsterDamage | MaxDropRate | MaxExperienceRate | MaxGoldRate | RequiredClass |
|---|---|---|---|---|---|---|---|---|---|---|---|---|---|---|---|---|---|---|---|---|---|---|---|---|---|---|---|---|
| S018 | Zuma Temple 4 | 188 | Default | None | None | true | 0 | false | true | false | true | true | false | 0 | 0 | None | 0 | 0 | 0 | 0 | 0 | 0 | 0 | 0 | 0 | 0 | None |
Zuma Maze 1
Map Info

| FileName | Description | MiniMap | Light | Weather | Fight | AllowRT | SkillDelay | CanHorse | AllowTT | CanMine | CanMarriageRecall | AllowRecall | ShowOnBigMap | MinimumLevel | MaximumLevel | ReconnectMap | Music | MonsterHealth | MonsterDamage | DropRate | ExperienceRate | GoldRate | MaxMonsterHealth | MaxMonsterDamage | MaxDropRate | MaxExperienceRate | MaxGoldRate | RequiredClass |
|---|---|---|---|---|---|---|---|---|---|---|---|---|---|---|---|---|---|---|---|---|---|---|---|---|---|---|---|---|
| S019 | Zuma Maze 1 | 189 | Default | None | None | false | 0 | false | true | false | true | true | false | 0 | 0 | S018 | None | 0 | 0 | 0 | 0 | 0 | 0 | 0 | 0 | 0 | 0 | None |
Zuma Maze 2
Map Info
| FileName | Description | MiniMap | Light | Weather | Fight | AllowRT | SkillDelay | CanHorse | AllowTT | CanMine | CanMarriageRecall | AllowRecall | ShowOnBigMap | MinimumLevel | MaximumLevel | ReconnectMap | Music | MonsterHealth | MonsterDamage | DropRate | ExperienceRate | GoldRate | MaxMonsterHealth | MaxMonsterDamage | MaxDropRate | MaxExperienceRate | MaxGoldRate | RequiredClass |
|---|---|---|---|---|---|---|---|---|---|---|---|---|---|---|---|---|---|---|---|---|---|---|---|---|---|---|---|---|
| S020 | Zuma Maze 2 | 190 | Default | None | None | false | 0 | false | true | false | true | true | false | 0 | 0 | S018 | None | 0 | 0 | 0 | 0 | 0 | 0 | 0 | 0 | 0 | 0 | None |
Zuma Maze 3
Map Info
| FileName | Description | MiniMap | Light | Weather | Fight | AllowRT | SkillDelay | CanHorse | AllowTT | CanMine | CanMarriageRecall | AllowRecall | ShowOnBigMap | MinimumLevel | MaximumLevel | ReconnectMap | Music | MonsterHealth | MonsterDamage | DropRate | ExperienceRate | GoldRate | MaxMonsterHealth | MaxMonsterDamage | MaxDropRate | MaxExperienceRate | MaxGoldRate | RequiredClass |
|---|---|---|---|---|---|---|---|---|---|---|---|---|---|---|---|---|---|---|---|---|---|---|---|---|---|---|---|---|
| S021 | Zuma Maze 3 | 191 | Default | None | None | false | 0 | false | true | false | true | true | false | 0 | 0 | S018 | None | 0 | 0 | 0 | 0 | 0 | 0 | 0 | 0 | 0 | 0 | None |
Zuma Maze 4
Map Info
| FileName | Description | MiniMap | Light | Weather | Fight | AllowRT | SkillDelay | CanHorse | AllowTT | CanMine | CanMarriageRecall | AllowRecall | ShowOnBigMap | MinimumLevel | MaximumLevel | ReconnectMap | Music | MonsterHealth | MonsterDamage | DropRate | ExperienceRate | GoldRate | MaxMonsterHealth | MaxMonsterDamage | MaxDropRate | MaxExperienceRate | MaxGoldRate | RequiredClass |
|---|---|---|---|---|---|---|---|---|---|---|---|---|---|---|---|---|---|---|---|---|---|---|---|---|---|---|---|---|
| S022 | Zuma Maze 4 | 192 | Default | None | None | false | 0 | false | true | false | true | true | false | 0 | 0 | S018 | None | 0 | 0 | 0 | 0 | 0 | 0 | 0 | 0 | 0 | 0 | None |
Zuma Temple 5
Map Info
| FileName | Description | MiniMap | Light | Weather | Fight | AllowRT | SkillDelay | CanHorse | AllowTT | CanMine | CanMarriageRecall | AllowRecall | ShowOnBigMap | MinimumLevel | MaximumLevel | ReconnectMap | Music | MonsterHealth | MonsterDamage | DropRate | ExperienceRate | GoldRate | MaxMonsterHealth | MaxMonsterDamage | MaxDropRate | MaxExperienceRate | MaxGoldRate | RequiredClass |
|---|---|---|---|---|---|---|---|---|---|---|---|---|---|---|---|---|---|---|---|---|---|---|---|---|---|---|---|---|
| S023 | Zuma Temple 5 | 193 | Default | None | None | false | 0 | false | true | false | true | true | false | 0 | 0 | S018 | None | 0 | 0 | 0 | 0 | 0 | 0 | 0 | 0 | 0 | 0 | None |
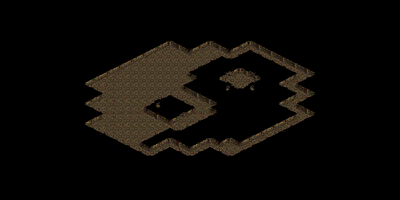
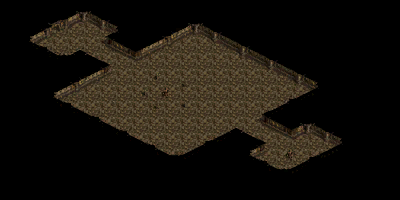
Zuma Temple 6
Map Info

| FileName | Description | MiniMap | Light | Weather | Fight | AllowRT | SkillDelay | CanHorse | AllowTT | CanMine | CanMarriageRecall | AllowRecall | ShowOnBigMap | MinimumLevel | MaximumLevel | ReconnectMap | Music | MonsterHealth | MonsterDamage | DropRate | ExperienceRate | GoldRate | MaxMonsterHealth | MaxMonsterDamage | MaxDropRate | MaxExperienceRate | MaxGoldRate | RequiredClass |
|---|---|---|---|---|---|---|---|---|---|---|---|---|---|---|---|---|---|---|---|---|---|---|---|---|---|---|---|---|
| S024 | Zuma Temple 6 | 194 | Default | None | None | false | 0 | false | true | false | true | true | false | 0 | 0 | S018 | None | 0 | 0 | 0 | 0 | 0 | 0 | 0 | 0 | 0 | 0 | None |
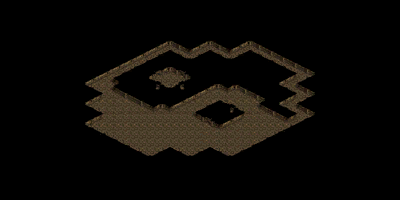
Zuma Temple 7
Map Info
| FileName | Description | MiniMap | Light | Weather | Fight | AllowRT | SkillDelay | CanHorse | AllowTT | CanMine | CanMarriageRecall | AllowRecall | ShowOnBigMap | MinimumLevel | MaximumLevel | ReconnectMap | Music | MonsterHealth | MonsterDamage | DropRate | ExperienceRate | GoldRate | MaxMonsterHealth | MaxMonsterDamage | MaxDropRate | MaxExperienceRate | MaxGoldRate | RequiredClass |
|---|---|---|---|---|---|---|---|---|---|---|---|---|---|---|---|---|---|---|---|---|---|---|---|---|---|---|---|---|
| S025 | Zuma Temple 7 | 195 | Default | None | None | false | 0 | false | true | false | true | true | false | 0 | 0 | S018 | None | 0 | 0 | 0 | 0 | 0 | 0 | 0 | 0 | 0 | 0 | None |
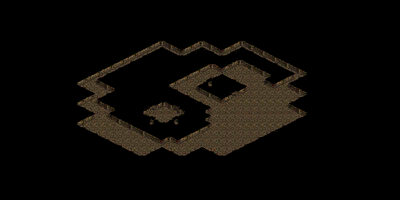
Zuma Temple KR
Map Info
| FileName | Description | MiniMap | Light | Weather | Fight | AllowRT | SkillDelay | CanHorse | AllowTT | CanMine | CanMarriageRecall | AllowRecall | ShowOnBigMap | MinimumLevel | MaximumLevel | ReconnectMap | Music | MonsterHealth | MonsterDamage | DropRate | ExperienceRate | GoldRate | MaxMonsterHealth | MaxMonsterDamage | MaxDropRate | MaxExperienceRate | MaxGoldRate | RequiredClass |
|---|---|---|---|---|---|---|---|---|---|---|---|---|---|---|---|---|---|---|---|---|---|---|---|---|---|---|---|---|
| S026 | Zuma Temple King Room | 196 | Default | None | None | false | 0 | false | true | false | false | true | false | 0 | 0 | S018 | None | 0 | 0 | 0 | 0 | 0 | 0 | 0 | 0 | 0 | 0 | None |